On this page
The problem
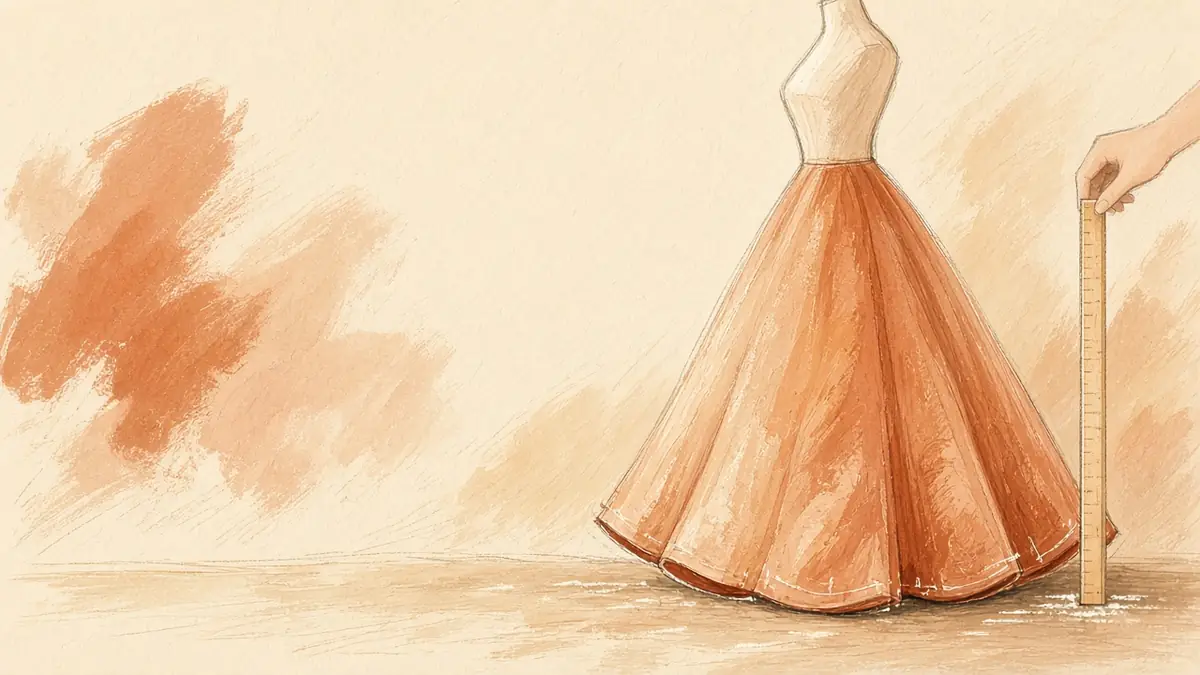
Why circle skirt hems drop unevenly
Around a circle, fabric grain changes continuously. Where the hem falls on the true bias (at 45° to the threads), fabric naturally stretches under its own weight, growing longer after a day or two of hanging. Hemming straight after cutting results in a skirt that sags in four uneven spots.
Step 1
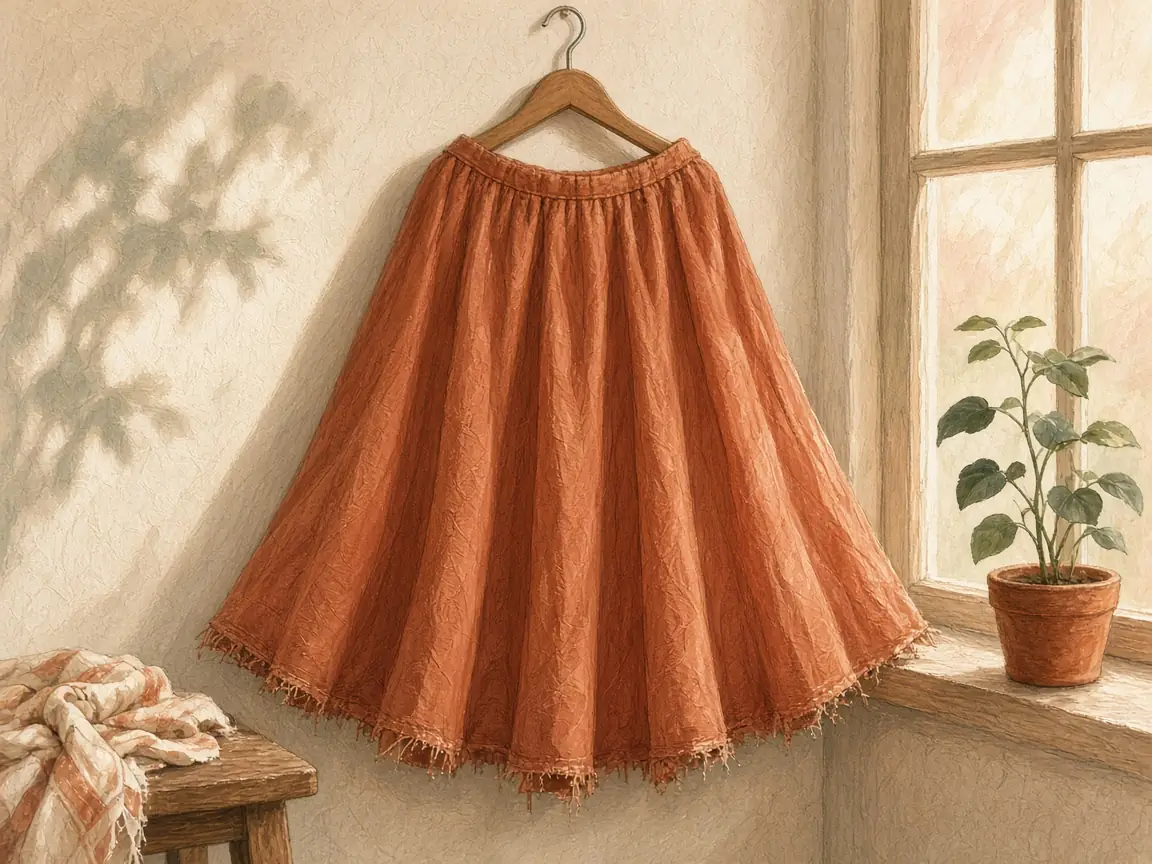
Let the skirt hang
- Finish the waist so the skirt hangs the way it will be worn.
- Hang it on a skirt hanger or dress form for 24 hours — up to 48 hours for drapey chiffon, crepe, or rayon.
Step 2
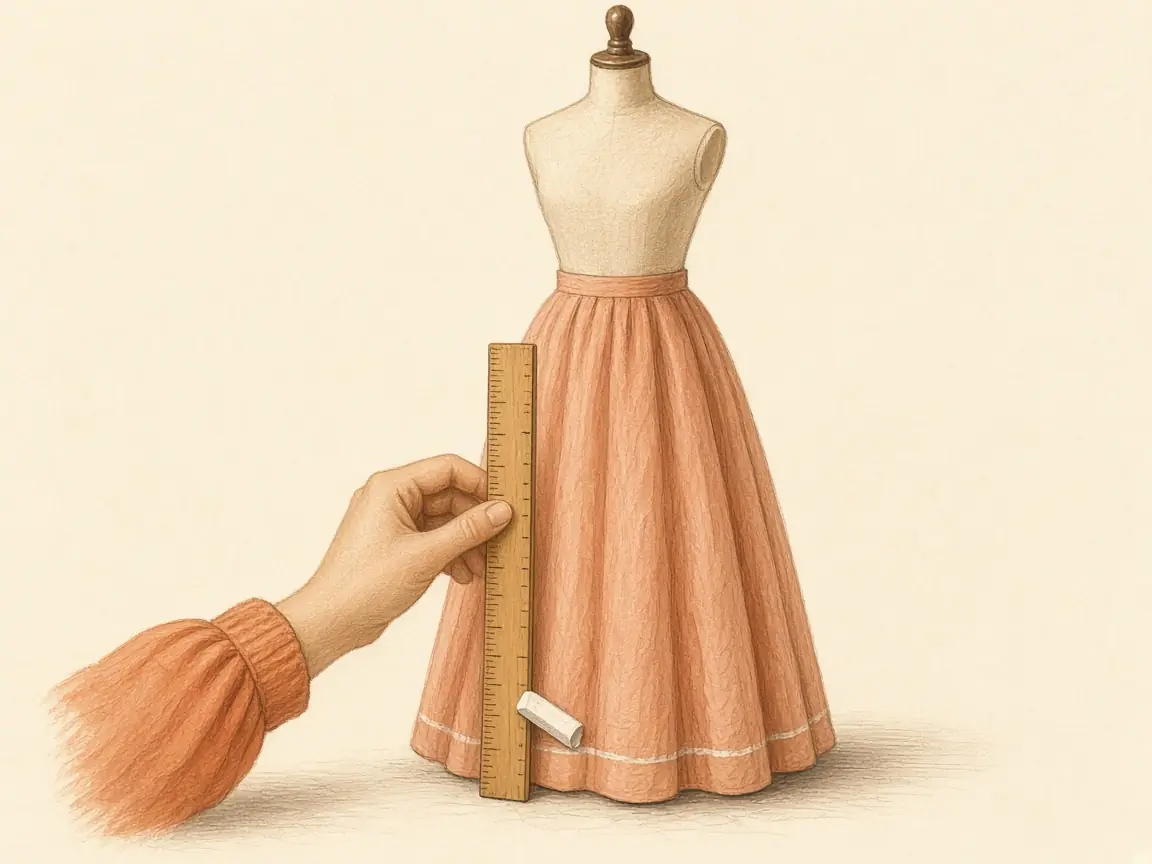
Level the hem
- Put the skirt on a dress form or have someone help you while you wear your usual shoes.
- Measure up from the floor with a yardstick or hem marker and mark your finished length every few inches.
- Lay the skirt flat and trim to an even allowance below the marks.
Planning your project? The circle skirt calculator automatically adds your hem allowance to the cut hem radius, giving you ample extra length to level cleanly.
Step 3
Choose a hem finish
Match the finish to your fabric weight — and keep the allowance narrow on a curve.
| Finish | Allowance | Best for |
|---|---|---|
| Narrow rolled hem | 1/4"–3/8" (6–10 mm) | Light fabrics, chiffon, cotton lawn |
| Double-turned narrow hem | 1/2" (12 mm) | Quilting cotton, poplin |
| Bias-bound or bias-faced hem | None to 1/4" | Heavier fabrics, contrast trim |
| Horsehair braid | 1/4" | Formal and bridal skirts that stand out |
| Serged edge (overlocked) | None | Knits, quick projects |
Avoid wide turned hems on curved edges: the outer cut edge is longer than the line it folds up against, so a 2" hem will bunch and ripple.
Technique
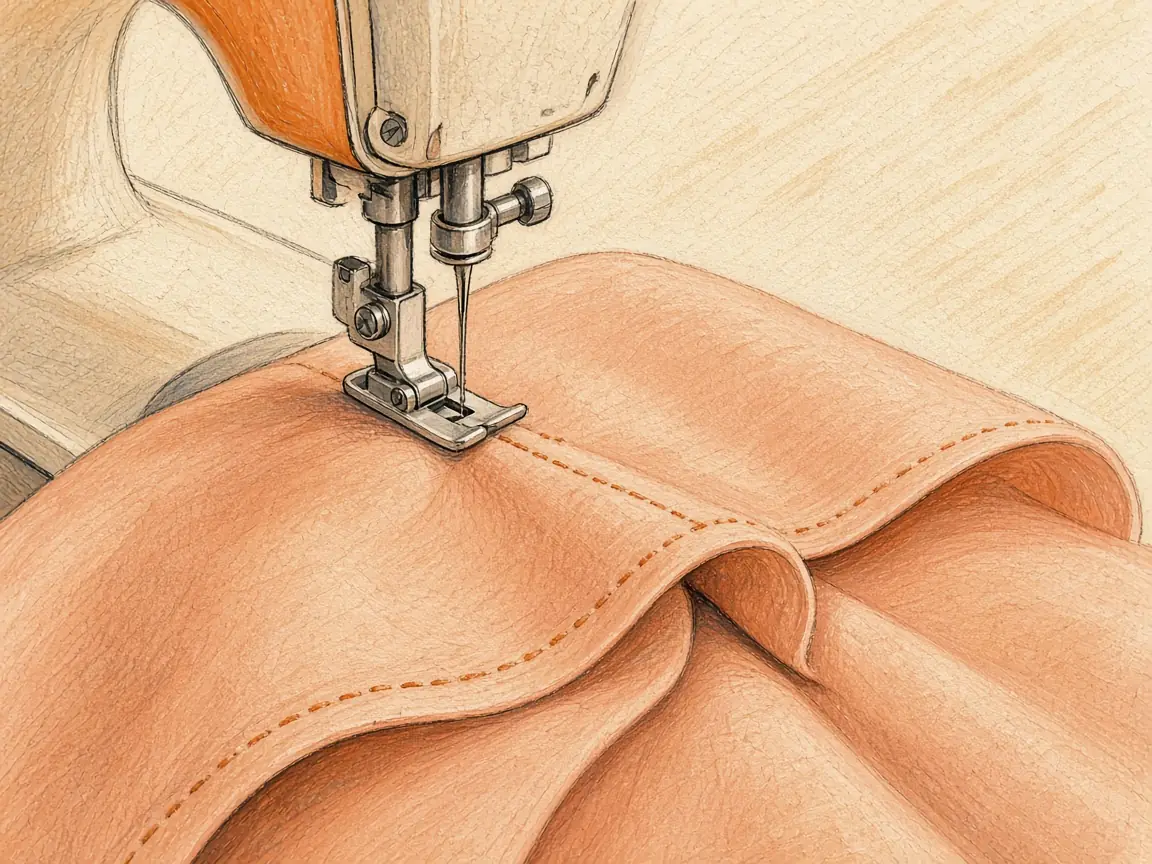
Narrow hem, step by step
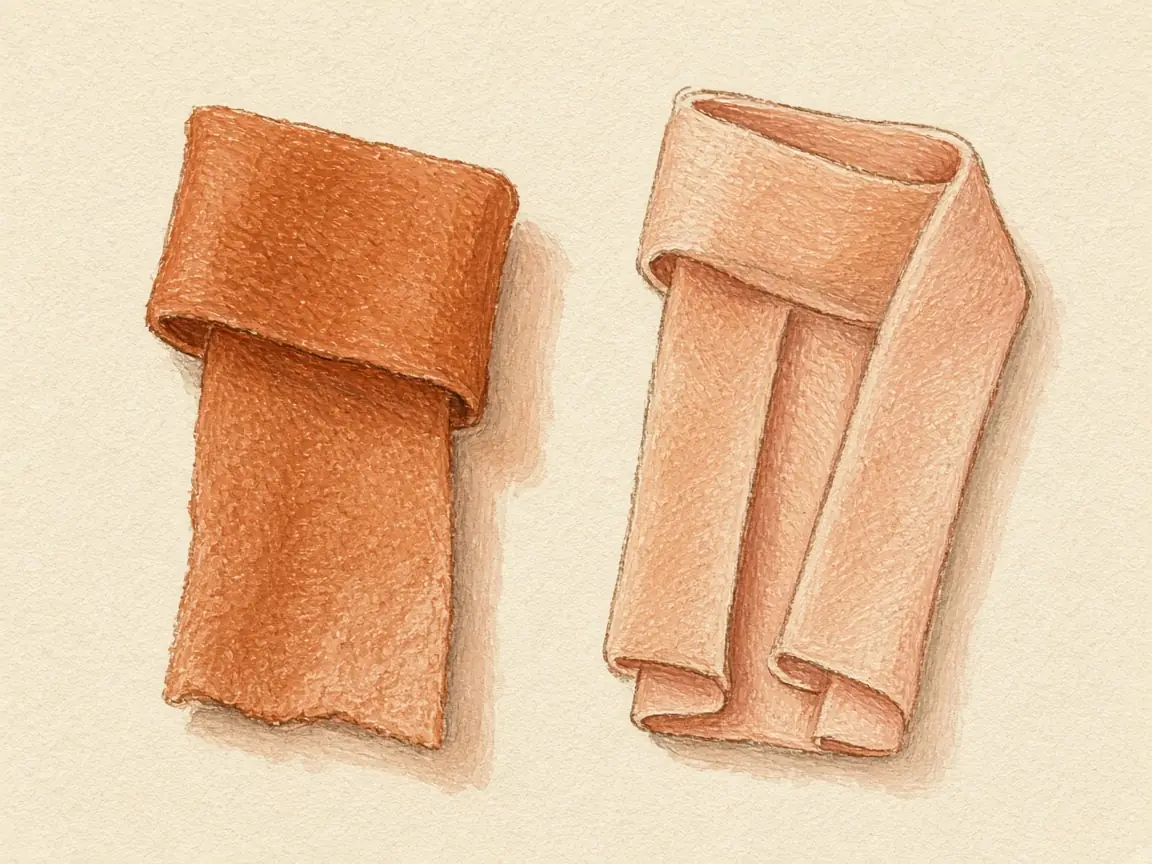
- Stay-stitch 1/4" from the raw edge all the way around — this guideline helps the fabric turn smoothly.
- Press the edge up along the stitching line.
- Fold again to enclose the raw edge and press.
- Topstitch close to the inner fold, easing gently around the curve.
Technique
Bias binding the hem
Bias binding is the cleanest finish on heavier fabrics because flexible bias tape curves smoothly along the hem.
Measure your hem circumference — a 28" waist, 22" full circle produces a 166" hem — and determine your square size with the bias tape calculator. Steam-shape the tape into a matching curve before stitching.
Troubleshooting
Common problems
Wavy hem
The fabric stretched while sewing — use a walking foot, stitch slowly, and do not pull.
Uneven length
The skirt was not left to hang long enough; re-level it.
Hem flips up
The allowance is too deep for the curve; trim to 1/4" and re-sew.
Half circle skirts experience the same bias drop at two points instead of four — our half circle skirt calculator incorporates the same hem allowance calculation.